
Nuxt.js is a fantastic frontend framework built on the top of vue.js.
It comes with lots of pluggable modules. One of them is Nuxt content.
Nuxt content allow you to to fetch and use Markdown, JSON, YAML, CSV and XML files.
In this article, we will built a blog using Nuxt content and Markdown files.
You can find the final source code on my github
1) Setting up our Nuxt project
npm init nuxt-app nuxt-content-blog
We will install Bootstrap-vue as well for quick styling. Below is the settings I used during setup:

We can now spin up our nuxt app and make sure everything have been set up properly:
cd nuxt-content-blog
npm run dev
If you visit http://localhost:3000 you should see our dev server up and running:
Let's create our default layout and home page!
First we create two components, our header and footer:
touch components/TheHeader.vue
touch components/TheFooter.vue
### components/TheHeader.vue
<template>
  <b-navbar toggleable="sm" type="dark" variant="dark" class="px-5">
    <b-navbar-brand to="/"> Blog </b-navbar-brand>
    <b-navbar-toggle target="nav-collapse"></b-navbar-toggle>
    <b-collapse id="nav-collapse" is-nav>
      <b-navbar-nav>
        <b-nav-item
          v-for="route in routes"
          :key="route"
          :class="{
            active: route == '' ? $route.name == 'index' : $route.name == route,
          }"
          :to="`/${route}`"
        >
          {{ route == "" ? "Home" : route[0].toUpperCase() + route.slice(1) }}
        </b-nav-item>
      </b-navbar-nav>
    </b-collapse>
  </b-navbar>
</template>

<script>
export default {
  data() {
    return {
      routes: ["", "blog"],
    };
  },
};
</script>
### components/TheFooter.vue
<template>
<b-container
fluid
class="bg-light text-dark border-top border-bottom border-dark text-center mt-2 py-5"
>
©
{{ new Date().getFullYear() }}
<strong>Florian Bigot</strong>
</b-container>
</template>
We now include these 2 components in our default layout:
### layouts/default.vue
<template>
  <div>
    <TheHeader />
    <b-container class="content">
      <b-card class="mt-2">
        <Nuxt />
      </b-card>
    </b-container>
    <TheFooter />
  </div>
</template>

<style>
@import url("https://fonts.googleapis.com/css?family=Roboto+Condensed");
html {
  font-family: "Roboto", sans-serif;
}
.page-enter-active,
.page-leave-active {
  transition: opacity 0.25s ease-in-out, transform 0.25s ease-in-out;
}
.page-enter,
.page-leave-to {
  opacity: 0;
  transform: translate3d(0, 15px, 0);
}

.layout-enter-active,
.layout-leave-active {
  transition: opacity 0.5s;
}
.layout-enter,
.layout-leave-to {
  opacity: 0;
}
</style>
Finally, we create a simple home page:
### pages/index.vue
<template>
  <h1>Home Page</h1>
</template>
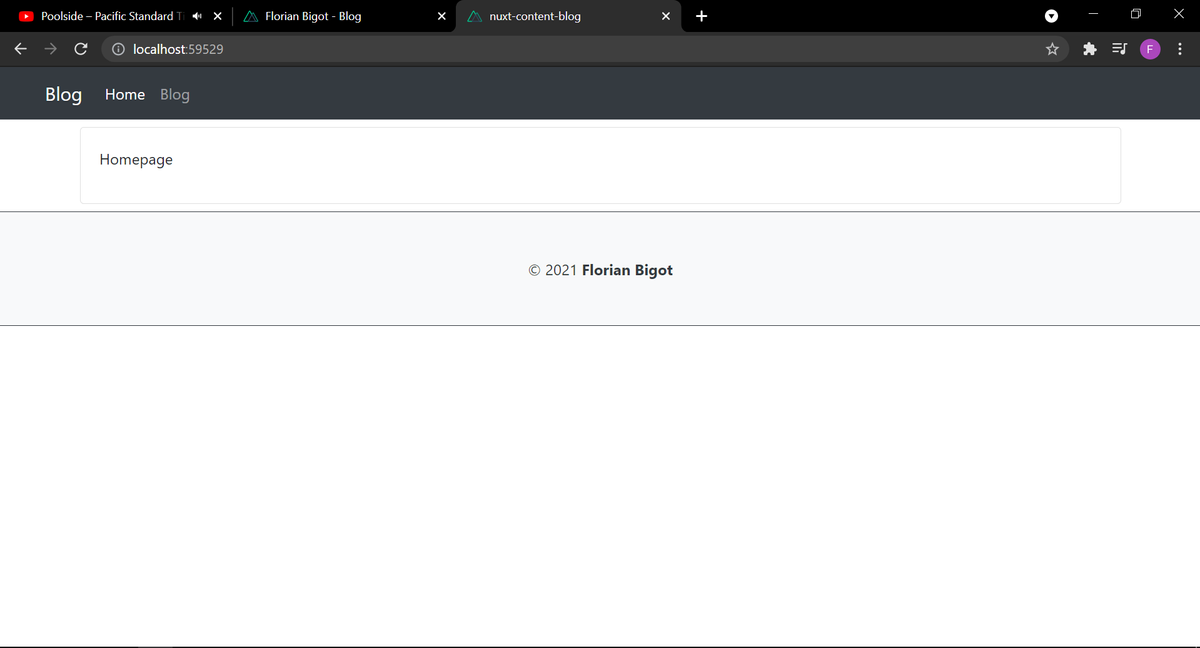
If we visit the http://localhost:3000, we should now see our changes:
Time to setup Nuxt content! For that, we simply install it and pluf it in our modules:
npm install @nuxt/content
### nuxt.config.js
...
modules: [
    // https://go.nuxtjs.dev/bootstrap
    'bootstrap-vue/nuxt',
    '@nuxt/content'     // new
],
...
That is it, Nuxt content is not ready to be used!
2) Create our /blog view
We next build our /blog page. This page will use our markdown files as content because it is super efficient to write with and easy to learn!
We need to put our markdown files inside a content folder at the root of our project. Let's create 2 dummy files:
mkdir content
mkdir content/blog
mkdir content/blog/Article_1
touch content/blog/Article_1/index.md
mkdir content/blog/Article_2
touch content/blog/Article_2/index.md
### content/blog/Article_1/index.md
---
title: Article 1 title
description: Article 1 description
---
## Article 1
Content of Article 1
### content/blog/Article_2/index.md
---
title: Article 2 title
description: Article 2 description
---
## Article 2
Content of Article 2
Then, we first create our blog page:
mkdir pages/blog
touch pages/blog/index.vue
### pages/blog/index.vue
<template>
<div>
<h1>Blog</h1>
<p>Welcome to my blog!</p>
<p>Feel free to email me if you wanna chat about my content 😀</p>
<b-form-group label="Search" style="max-width: 350px">
<b-form-input type="text" v-model="search" />
</b-form-group>
<hr />
<div v-if="posts.length > 0" class="row">
<div
v-for="(post, index) in posts"
:key="index"
class="col-lg-4 col-md-6 p-0 my-2"
>
<b-card class="h-100 p-1 mx-2">
<h3>{{ post.title }}</h3>
<b-card-text>{{ post.description }}</b-card-text>
<div class="text-center">
<b-button :to="post.path" variant="secondary">Read</b-button>
</div>
</b-card>
</div>
</div>
<p v-else class="text-info">
<strong>No posts are matching you search</strong>
</p>
</div>
</template>
<script>
export default {
layout: "blog",
async asyncData({ $content, params }) {
const articles = await $content("blog", { deep: true }).fetch();
articles.sort((a, b) => new Date(b.updatedAt) - new Date(a.updatedAt));
articles.forEach((article) => {
article.path = article.path.split("/");
article.path.splice(article.path.length - 1, 1);
article.path = article.path.join("/");
});
return { articles };
},
data() {
return {
search: "",
};
},
computed: {
posts: function () {
if (this.search.trim() == "") {
return this.articles;
} else {
return this.articles.filter((article) => {
return this.search
.trim()
.toLowerCase()
.split(" ")
.some((el) => {
return article.slug.replace(/_/g, " ").toLowerCase().includes(el);
});
});
}
},
},
};
</script>
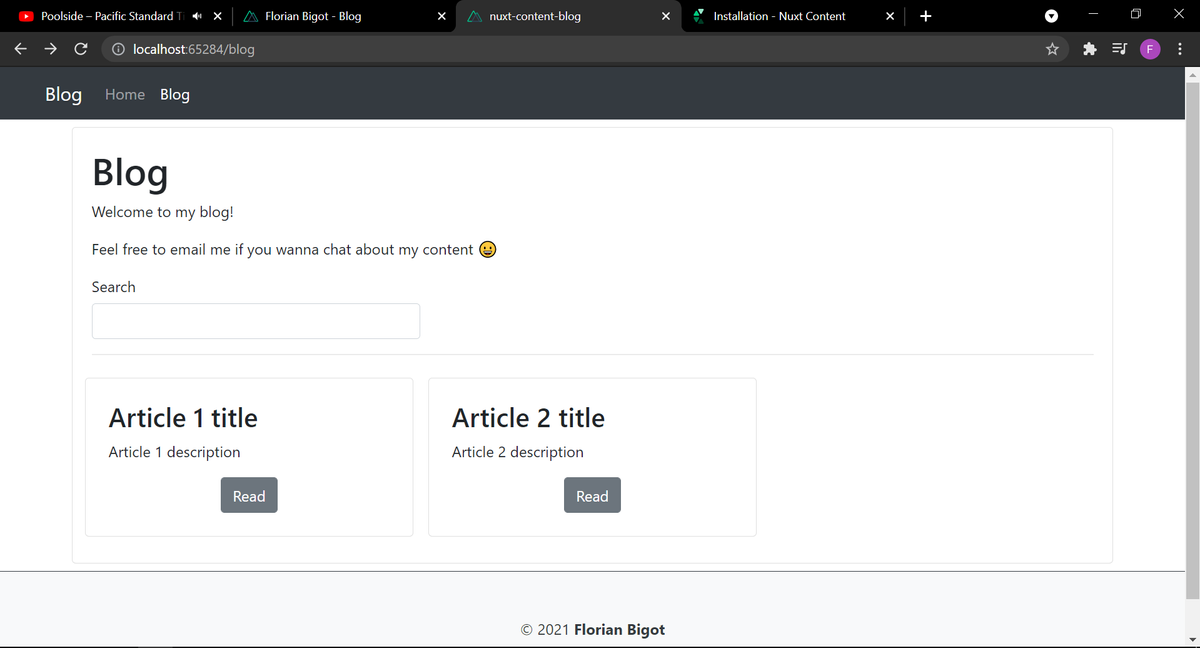
We can now visit http://localhost:3000/blog and see our 2 dummy articles there:
It would be nice to have to have an image for each article. It would also be very convinient not to store that image in the static or assets folder but in the same folder as our markdown files.
Fortunately, Nuxt js support server side code, so it is something we can implement! Let's place an index.png file inside of the content/blog/Article_1 and modify our content/blog/Article_1/index.md file to include the name of this image:
### content/blog/Article_1/index.md
---
title: Article 1 title
description: Article 1 description
image: 'index.png'
---
We also include a default image in case some articles do not have a specific image to be displayed (like our dummy Article 2). We will name it default.png and place it in the content/blog directory.
We now modify our blog page to display these images:
### pages/blog/index.vue
<template>
<div>
<h1>Blog</h1>
<p>Welcome to my blog!</p>
<p>Feel free to email me if you wanna chat about my content 😀</p>
<b-form-group label="Search" style="max-width: 350px">
<b-form-input type="text" v-model="search" />
</b-form-group>
<hr />
<div v-if="posts.length > 0" class="row">
<div
v-for="(post, index) in posts"
:key="index"
class="col-lg-4 col-md-6 p-0 my-2"
>
<b-card class="h-100 p-1 mx-2">
<h3>{{ post.title }}</h3>
<b-card-text>{{ post.description }}</b-card-text>
<div class="text-center">
<b-button :to="post.path" variant="secondary">Read</b-button>
</div>
</b-card>
</div>
</div>
<p v-else class="text-info">
<strong>No posts are matching you search</strong>
</p>
</div>
</template>
...
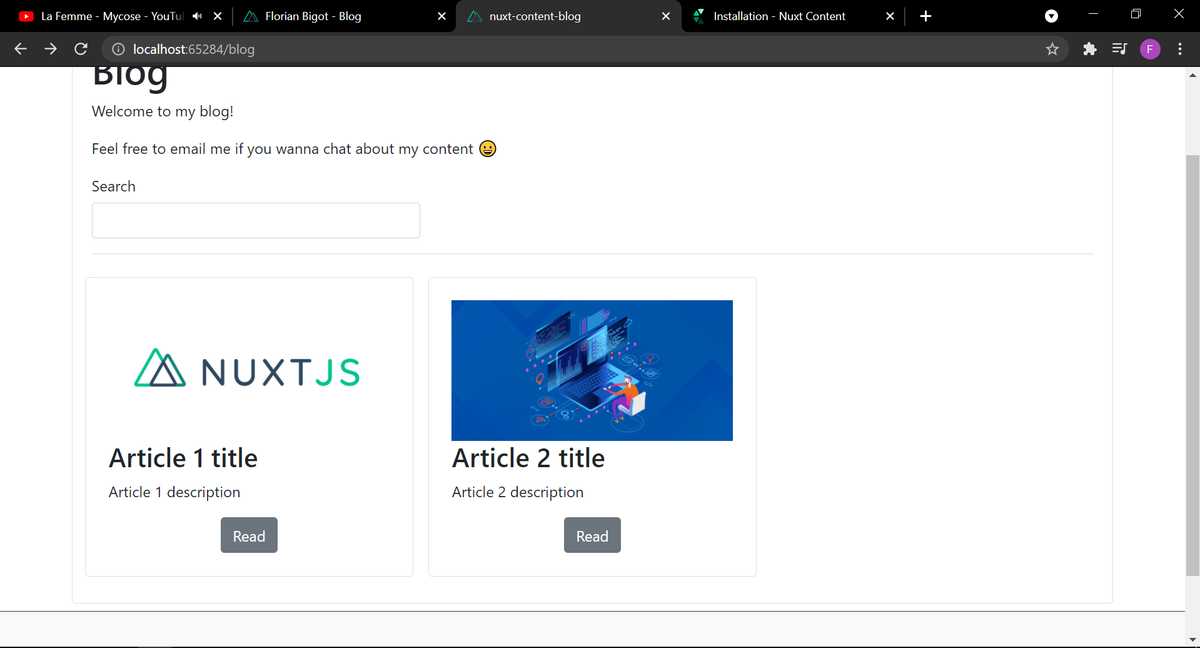
The images are now displayed correctly! For our Article 1 we have the image we picked and for the Article 2 the default one:
You may see some warning with the dev server. Do not worry about them, they will disapear once the app is built.
3) Create our /blog/_slug view
We can now setup a new page to display each Article
touch pages/blog/_slug.vue
### pages/blog/_slug.vue
<template>
  <article>
    <img
      v-if="'image' in article"
      :src="require(`~/content${$route.path}/${article.image}`)"
      style="width: 100%; height: 250px; object-fit: cover"
    />
    <img
      v-else
      :src="require('~/content/blog/default.png')"
      style="width: 100%; height: 250px; object-fit: cover"
    />
    <h1>{{ article.title }}</h1>
    <h4 class="text-secondary">
      <small>
        <i>
          {{
            new Date(article.createdAt).toLocaleDateString("en", {
              year: "numeric",
              month: "long",
              day: "numeric",
            })
          }}
        </i>
      </small>
    </h4>
    <nuxt-content :document="article" />
  </article>
</template>

<script>
export default {
  layout: "blog",

  async asyncData({ $content, params }) {
    const article = await $content("blog", params.slug, "index").fetch();
    return { article };
  },
};
</script>
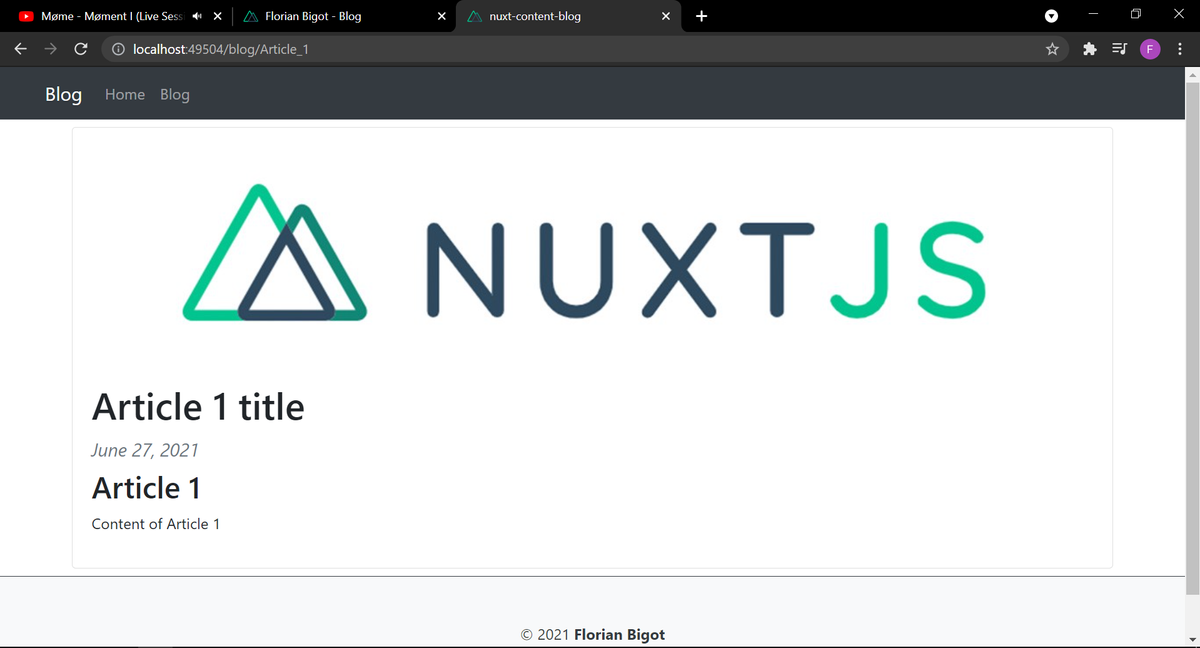
If we visit http://localhost:3000/blog/Article_1, we now see our Article 1 with the chosen picture.
If you visit http://localhost:3000/blog/Article_2, we see the Article 2 with our default picture:
4) Create a blog-img component
In our articles, we will need to include images. However, Markdown does not support vue syntax and thus we will not be able to bind the image source using some server side javascript code like we did before...
Fortunately, There is a simple work arround!
We can have to create a global vue component and do that binding there! We then just have to pass the image file name using a prop.
We will call this component BlogImg.vue:
touch components/BlogImg.vue
### components/BlogImg.vue
<template>
  <img :src="require(`~/content${this.$route.path}/${this.src}`)" />
</template>

<script>
export default {
  props: ["src"],
};
</script>
To include an image in our article, we can now use this component and display images in our content folder.
Let's do it out with our Article 1:
### content/blog/Article_1/index.md

---

title: Article 1 title
description: Article 1 description
image: 'index.jpeg'

---

## Article 1

Content of Article 1

<div><blog-img src="index.jpeg" width="100%" height="auto" class="shadow mb-3"/></div>
Conclusion
We now have a our blog app setup! We just have to create articles in the content folder and all our routes will automatically be generated.
For deployment, just run the following command and you will end up with a static website ready to be published!
npm run generate
You can find the complete source code on my github
If you have any question or just want to chat, feel free to email me florian.bigot321@gmail.com